
Your printer worked fine last week. Now it stubbornly refuses to connect to Wi-Fi — and of course, you need to print something urgent. If this sounds familiar, you are definitely not alone. Wireless printer issues are one of the most searched tech problems for a reason: they can happen to anyone, at any time, and for a surprisingly wide range of causes.
The good news? Almost every case of a printer not connecting to Wi-Fi can be fixed at home, without calling a technician. In this guide we walk you through 9 proven fixes in order from quickest to most thorough. Work through them one by one and you will be printing again in under 20 minutes.
Before you start — quick checklist
Run through these basics first. They take 60 seconds and rule out the simplest causes:
- Printer is powered on and not in sleep or error mode (check the status light).
- Other devices can reach the internet — if your phone and laptop are also offline, the issue is the router, not the printer.
- The printer is within range of your router. Thick walls and distance significantly weaken the Wi-Fi signal a printer can receive.
- You are connecting to 2.4 GHz, not 5 GHz. The vast majority of home printers only support the 2.4 GHz band. If your router broadcasts both bands (especially under the same network name), your printer may be unable to join.
- Your Wi-Fi password has not changed recently. After a router reset or ISP router swap, the printer still has the old credentials saved.
If everything above checks out, move on to the fixes below.
Fix 1 — Restart your printer, router, and computer

Time required: 2–3 minutes. Solves: temporary connection glitches, IP lease conflicts.
It sounds obvious, but a full restart cycle clears more problems than any other single step. Here is the correct order — sequence matters:
- Turn off your printer using its power button. Wait 10 seconds.
- Unplug your router (and modem if separate) from the power outlet. Wait 30 seconds — this clears the router’s memory and forces it to issue fresh IP addresses.
- Plug the router back in and wait for it to fully restart (all indicator lights settle, usually 60–90 seconds).
- Power your printer back on.
- Restart your computer.
- Try printing a test page.
If the printer shows up and prints — great, you are done. If not, continue to Fix 2.
Fix 2 — Reconnect your printer to Wi-Fi manually
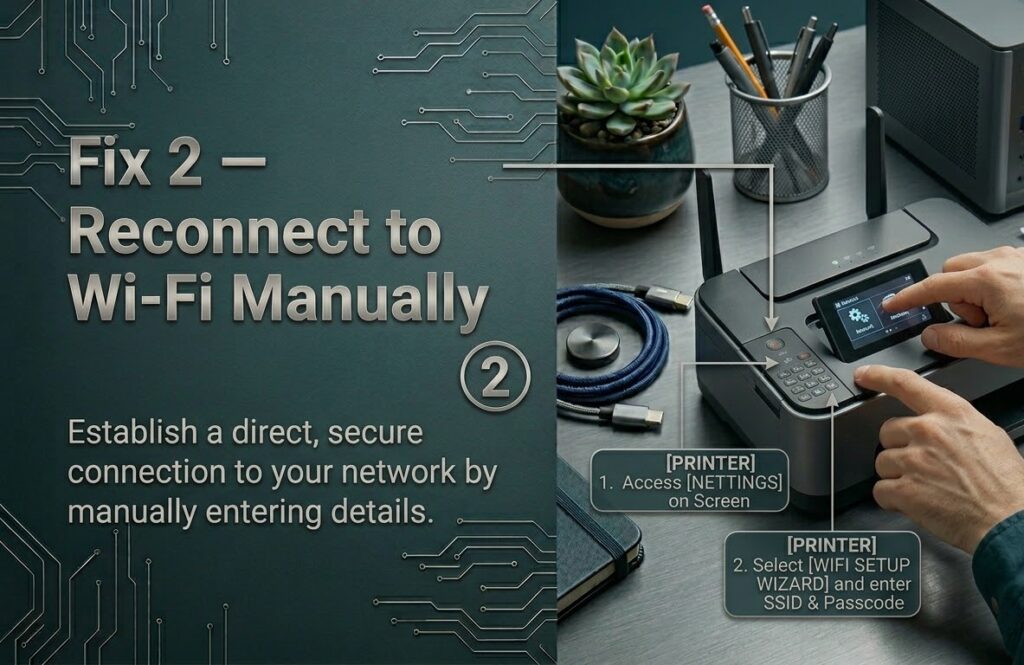
Time required: 3–5 minutes. Solves: printer connected to wrong network, forgotten credentials after router change.
Most wireless printers have a wireless setup wizard built into their menu system. Here is how to access it on the most common brands:
HP printers
- On the printer’s control panel, tap the Wireless icon or go to Settings.
- Select Wireless Setup Wizard.
- Choose your network name (SSID) from the list.
- Enter your Wi-Fi password carefully — passwords are case-sensitive.
- Wait for the printer to confirm a successful connection.
Epson printers
- Press the Home button on the printer.
- Go to Wi-Fi Setup → Wi-Fi Setup Wizard.
- Select your network and enter the password.
- Confirm the connection by printing a network status sheet.
Canon printers
- On the printer screen, go to LAN settings → Wireless LAN setup.
- Select Standard setup and follow the prompts.
- Enter your SSID and password when asked.
Tip: If your router has a guest network, make sure your printer and your computer are on the same network. A printer on the guest network cannot communicate with a computer on the main network.
Fix 3 — Assign a static IP address to your printer
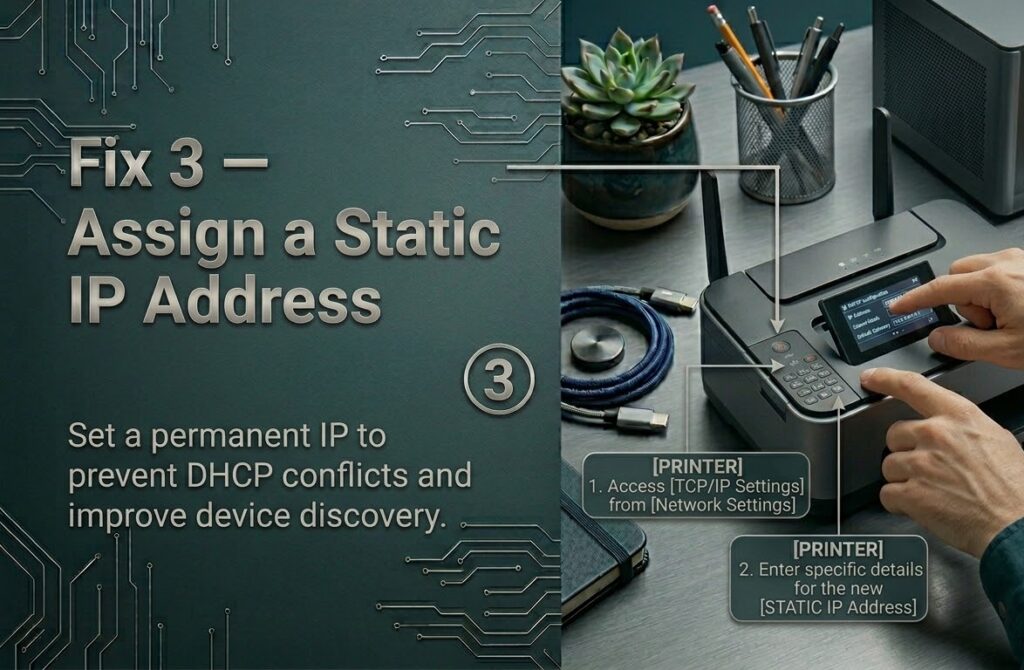
Time required: 5–10 minutes. Solves: printer that reconnects fine but keeps going “offline” every few days.
This is the most overlooked fix, and it is the answer to a very specific and frustrating problem: your printer connects to Wi-Fi just fine, works for a day or two, then shows “offline” again. The culprit is your router’s DHCP service handing the printer a different IP address each time it reconnects. Your computer remembers the old IP and can no longer find the printer.
The fix is to give your printer a permanent, fixed IP address. There are two ways to do this:
Method A — Reserve an IP in your router (recommended)
- Find your printer’s current IP address. Print a network configuration page from your printer’s menu (usually under Settings → Reports → Network Configuration Page). Note the IP address shown.
- Open your router’s admin panel in a browser. The address is usually
192.168.1.1or192.168.0.1. Log in with your router credentials (often printed on the router’s label). - Find the DHCP Reservation or Static IP section (location varies by router brand — check your router’s manual).
- Add a new reservation using your printer’s MAC address (also shown on the network config page) and assign it a fixed IP such as
192.168.1.200. - Save the settings and restart both the router and the printer.
Method B — Set a static IP directly on the printer
- On the printer, go to Settings → Network Settings → TCP/IP Settings (menu name varies by brand).
- Change the IP method from Automatic (DHCP) to Manual.
- Enter an IP address outside your router’s DHCP range (e.g.
192.168.1.200), the subnet mask (255.255.255.0), and the default gateway (your router’s IP). - Save and restart the printer.
After this change, your printer will always have the same address on your network and the “keeps going offline” problem will disappear.
Fix 4 — Update or reinstall your printer drivers
Time required: 5–10 minutes. Solves: printer stopped working after a Windows or macOS update.
Operating system updates frequently break older printer drivers. If your printer connection issues started right after a system update, a driver reinstall is almost certainly the fix.
On Windows
- Press Windows + X and open Device Manager.
- Expand Printers, right-click your printer, and select Uninstall device. Check “Delete the driver software for this device” if the option appears.
- Visit your printer manufacturer’s support page and download the latest full driver package for your exact model:
- HP: support.hp.com
- Epson: epson.com/support
- Canon: usa.canon.com/support
- Brother: support.brother.com
- Run the downloaded installer and follow the on-screen steps. When prompted, choose Wireless/Network as the connection type.
- Restart your computer after installation.
On macOS
- Open System Settings → Printers & Scanners.
- Select your printer and click the – (minus) button to remove it.
- Click + to add a printer. macOS will search for available printers on the network. If it appears, add it and macOS will install the appropriate driver automatically.
- If it does not appear, download the driver package from the manufacturer’s site and install it first.
Fix 5 — Run the built-in printer troubleshooter
Time required: 2–3 minutes. Solves: stuck print spooler, misconfigured port settings (Windows only).
Windows includes a built-in troubleshooter that can automatically fix several common printer problems including a crashed print spooler service and wrong port configuration — both of which can make a correctly connected printer appear offline.
Windows 10
- Go to Settings → Update & Security → Troubleshoot → Additional troubleshooters.
- Click Printer → Run the troubleshooter.
- Follow the prompts and apply any fixes it finds.
Windows 11
- Go to Settings → Bluetooth & devices → Printers & scanners.
- Scroll down and click Troubleshoot (or run it from Settings → System → Troubleshoot → Other troubleshooters).
macOS equivalent — Reset the printing system
- Go to System Settings → Printers & Scanners.
- Right-click (or Control-click) anywhere in the printers list.
- Select Reset printing system… and confirm.
- This removes all printers. Add your printer back using the + button.
Fix 6 — Check your firewall and security software
Time required: 3–5 minutes. Solves: printer visible on network but computer cannot communicate with it.
Firewall software can block the communication ports that printers use to receive jobs on a local network. This is especially common after installing new security software or after a Windows Defender update.
Test: temporarily disable third-party antivirus
Right-click your antivirus icon in the system tray and choose to disable it temporarily (usually 10–15 minutes). Try printing. If it works, the antivirus was the problem — you will need to add your printer software as an exception in its settings rather than leaving it disabled permanently.
Allow printer through Windows Defender Firewall
- Open Control Panel → Windows Defender Firewall → Allow an app or feature through Windows Defender Firewall.
- Click Change settings.
- Look for your printer’s software (e.g. “HP Smart”, “Epson Scan”) and make sure both Private and Public checkboxes are ticked.
- If your printer app is not listed, click Allow another app and browse to the printer software executable.
Note for Norton and McAfee users: Both products have a “Smart Firewall” feature that can silently block printers. Open the firewall settings within the product and add your printer’s IP address as a trusted device.
Fix 7 — Reset your printer’s network settings
Time required: 5 minutes. Solves: printer stuck on old network, won’t join new router, or shows corrupted wireless config.
If you recently changed your router or ISP and your printer simply refuses to connect to the new network despite entering the correct credentials, it is likely holding on to corrupted or conflicting network data. A network settings reset clears all of that.
Important: This resets only the wireless configuration, not your printer’s other settings (copies, alignment, etc.), unless you choose a full factory reset.
HP printers
- On the printer, go to Settings (gear icon) → Wireless → Restore Network Settings.
- The printer will reset its Wi-Fi configuration and the wireless light will begin blinking, indicating it is ready for setup.
- Run the Wireless Setup Wizard (see Fix 2) to reconnect.
Epson printers
- Go to Settings → Restore Default Settings → Network Settings.
- Confirm the reset and wait for the printer to restart.
- Run the Wi-Fi Setup Wizard again to reconnect.
Canon printers
- Go to Setup → Device settings → Reset setting → LAN settings.
- Select Yes to confirm.
- Reconnect using the Wireless LAN Setup wizard.
Fix 8 — Use WPS (Wi-Fi Protected Setup)
Time required: 2 minutes. Solves: difficulty entering password, connecting without a display on the printer.
WPS is a feature that lets you connect a device to your router by pressing a physical button — no password required. It is a useful shortcut when the wireless setup wizard is giving you trouble or your printer has no touchscreen for entering passwords.
- Make sure WPS is enabled on your router. Most modern routers have it on by default. You will see a button labelled WPS on the router itself.
- On your printer, go to Settings → Wireless → WPS Push Button Method (exact menu wording varies by brand).
- Press the WPS button on your router.
- Within 2 minutes, activate WPS on the printer (press the button in the menu, or a physical WPS button if your printer has one).
- The printer and router will handshake and connect automatically.
Heads-up: Some ISP-supplied routers (particularly from BT, Virgin, and Sky in the UK, or Xfinity in the US) disable WPS by default for security reasons. If the WPS button does nothing, log into your router’s admin panel and check whether WPS is enabled under the wireless settings.
Security note: WPS has a known vulnerability (PIN brute-force attack). If security is a concern, use Fix 2 (manual setup) instead, and consider disabling WPS on your router after connecting.
Fix 9 — Connect via USB first, then switch to wireless
Time required: 5–10 minutes. Solves: can’t complete wireless setup wizard, printer not detected during wireless installation.
This is a reliable workaround when you cannot get the wireless setup wizard to complete successfully on its own. Using a USB cable to establish the initial connection lets the printer software install fully and configure the network settings in the background.
- Connect your printer to your computer with a USB cable.
- Download and run the full software package from your manufacturer’s website (not just the driver — the full package includes the setup utility).
- During installation, when asked about connection type, select USB.
- Once the installation completes and you can print via USB, open the printer software on your computer.
- Look for a Wireless Setup or Network Setup option within the software. Use it to configure the Wi-Fi connection.
- Once wireless setup confirms a successful connection, you can disconnect the USB cable. The printer will now work wirelessly.
This method works particularly well with HP Smart, Epson Connect, and Canon PRINT apps, all of which include a guided wireless setup tool that is easier to complete than the printer’s on-screen wizard.
Frequently asked questions
Why does my printer keep disconnecting from Wi-Fi?
The most common cause is a dynamic IP address. Your router assigns your printer a new IP address periodically, and when it changes, your computer can no longer locate the printer. Fixing this by assigning a static IP (see Fix 3 above) resolves the problem permanently. Sleep mode can also cause disconnections on some printer models — check your printer’s energy-saving settings and increase the sleep timeout or disable it.
How do I find my printer’s IP address?
The quickest way is to print a network configuration page directly from the printer. On most models this is under Settings → Reports → Network Configuration Page or Wireless Test Report. The current IP address will be printed on that page. You can also log into your router and look at the list of connected devices — your printer will appear there with its assigned IP.
Why won’t my printer connect to my new router?
Your printer still has your old Wi-Fi network name (SSID) and password saved in memory. It is trying to connect to a network that no longer exists. The fix is to reset the printer’s network settings (Fix 7) and run the wireless setup wizard again (Fix 2) with your new router’s credentials.
Does my printer support 5 GHz Wi-Fi?
Most home and office printers — including the majority of HP, Epson, Canon, and Brother models released before 2023 — support only the 2.4 GHz band. If your router broadcasts both a 2.4 GHz and a 5 GHz network (often with names like “MyNetwork” and “MyNetwork_5G”), make sure you are connecting your printer to the 2.4 GHz version. Check your printer’s spec sheet or product page if you are unsure.
My printer shows as online on my phone but not on my PC — why?
Your phone and PC are likely on different network segments. Check that your phone is connected to the same Wi-Fi network (not a guest network) and that your PC is also on Wi-Fi or on the same local network via Ethernet. If your PC uses Ethernet and your phone uses Wi-Fi, they should still be on the same subnet in a standard home setup — but if your router is configured with network isolation, the two cannot communicate. Also check your PC’s firewall settings as described in Fix 6.
None of these fixes worked — what now?
If you have tried all 9 fixes without success, the issue may be hardware-related (a faulty Wi-Fi module inside the printer) or a compatibility issue with a specific router firmware version. At this point, contact your printer manufacturer’s support line directly — HP, Epson, and Canon all offer free telephone and chat support for hardware faults. Have your printer model number and serial number ready, both of which are printed on the label underneath the printer.
Final thoughts
Wireless printer problems are frustrating, but they are almost always solvable without professional help. The majority of cases come down to one of three things: the printer lost its network credentials after a router change, the IP address shifted causing a “ghost” offline status, or a driver update went wrong. Fixing the static IP issue alone (Fix 3) is the single change that eliminates most repeated disconnection complaints.