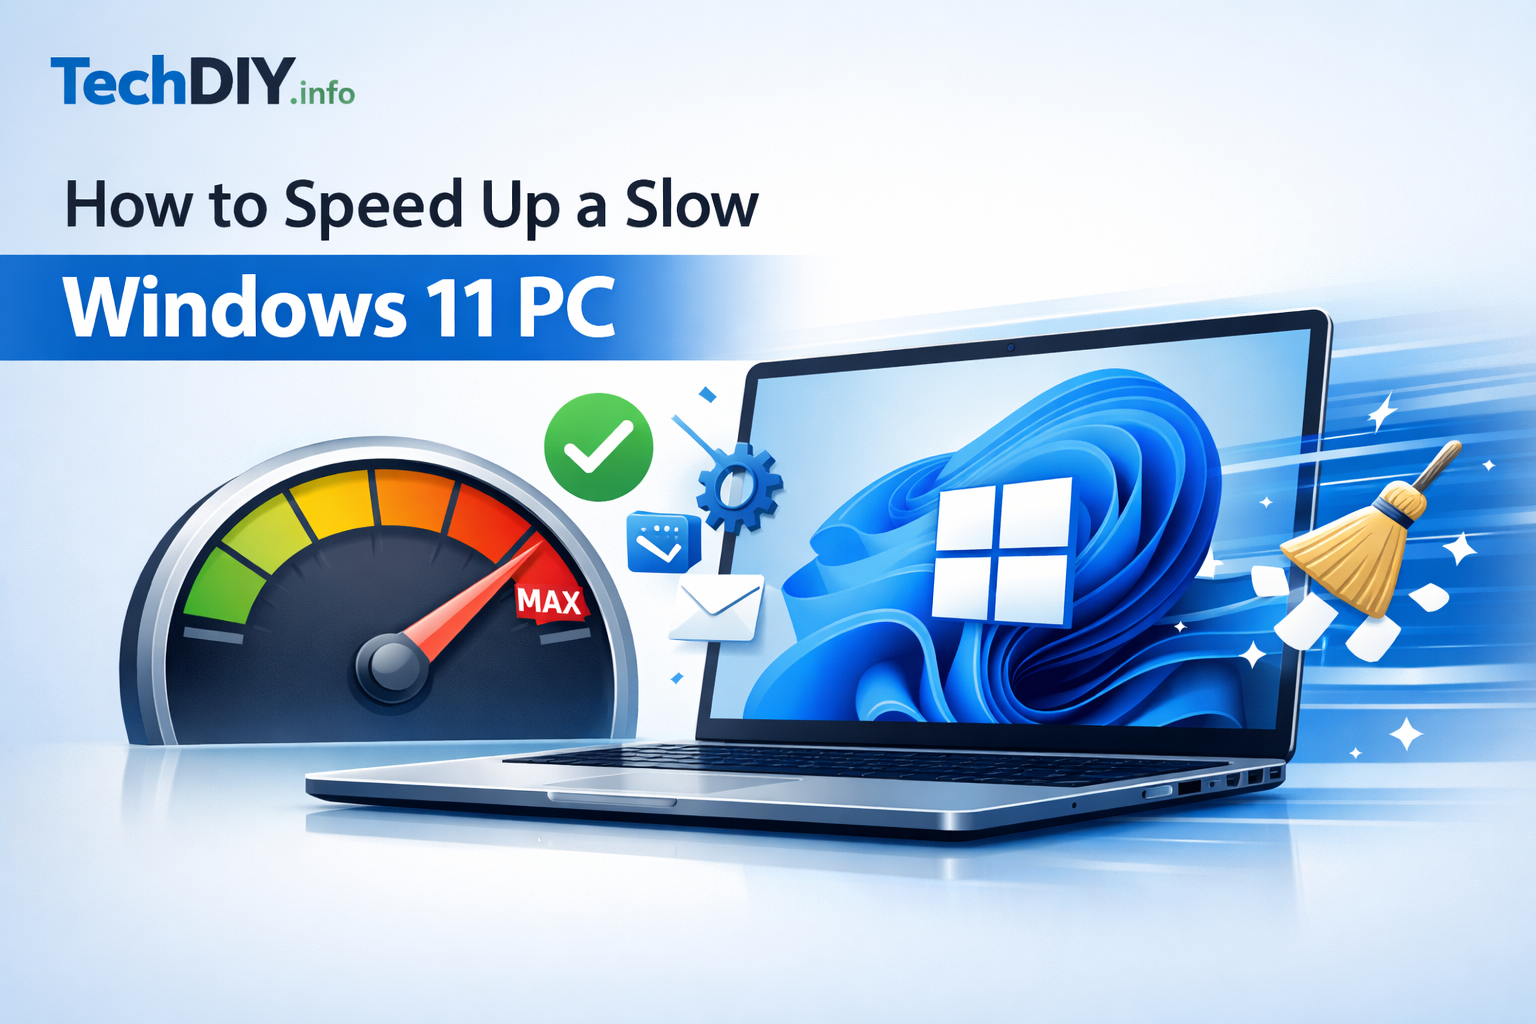

Is your Windows 11 PC crawling through tasks it used to handle in seconds? You are not imagining it. Over time, Windows 11 accumulates startup programs, background processes, junk files, and bloated browser extensions — all competing for the same limited CPU, RAM, and disk resources.
The good news: most of the causes are easy to fix, and you do not need to reinstall Windows or spend money on new hardware. The 10 fixes below are ordered from quickest to most advanced. Work through them in order and the vast majority of slow PCs are fixed before you reach Fix 5.
Windows 11 PCs slow down mainly because of too many startup programs, background processes hogging RAM, a nearly-full hard drive, or outdated and conflicting drivers.

Quick navigation
- Fix 1 — Disable startup apps
- Fix 2 — Free up disk space with Disk Cleanup
- Fix 3 — Check and reduce RAM usage
- Fix 4 — Fix browser slowdown
- Fix 5 — Switch to High Performance power plan
- Fix 6 — Disable visual effects
- Fix 7 — Turn off transparency and animations
- Fix 8 — Update or roll back drivers
- Fix 9 — Run a full malware scan
- Fix 10 — Repair system files with SFC and DISM
- Frequently asked questions
Fix 1 — Disable Startup Apps
Difficulty: Easy | Time: 2 minutes | Impact: High
Every app you have ever installed wants to launch itself when Windows starts. Teams, Spotify, OneDrive, Discord, Adobe updaters — by the time you reach your desktop, a dozen of these are already running and eating your RAM. Disabling the ones you do not need at boot is the single fastest way to speed up Windows 11 startup and lower idle RAM usage.
How to disable startup apps in Windows 11
- Press Ctrl + Shift + Esc to open Task Manager.
- Click the Startup apps tab at the top.
- Look at the Status and Startup impact columns.
- Right-click any app marked High impact that you do not need at login and select Disable.
- Restart your PC and notice the difference.
Safe to disable: Spotify, Discord, Teams (if you do not use it for work), Adobe Creative Cloud, Steam, Epic Games Launcher, and most third-party software updaters.
Do not disable: Windows Security, your antivirus, audio drivers, or anything labelled Microsoft that you do not recognise — if in doubt, leave it enabled.
Tip: You can always re-enable a startup app the same way if you change your mind.
Fix 2 — Free Up Disk Space with Disk Cleanup

Difficulty: Easy | Time: 5 minutes | Impact: High (especially if disk is over 85% full)
When your C: drive drops below 10% free space, Windows struggles to create temporary files, manage virtual memory, and install updates. The result is a PC that lags constantly — even if your RAM and CPU are fine. Running Disk Cleanup is free, built-in, and takes under five minutes.
How to run Disk Cleanup on Windows 11
- Press Windows + S and search for Disk Cleanup.
- Select your C: drive and click OK.
- Once the scan completes, tick the following boxes:
- Temporary Internet Files
- Temporary files
- Recycle Bin
- Thumbnails
- Click Clean up system files at the bottom for a deeper clean — this also removes old Windows Update files which can take up several gigabytes.
- Click OK and confirm.
Enable Storage Sense for automatic cleanup
Go to Settings > System > Storage and toggle on Storage Sense. Windows will automatically delete temporary files and empty the Recycle Bin on a schedule, so your disk never silently fills up again.
Tip: If you want a visual breakdown of what is taking up space, the free tool WinDirStat is excellent — it shows a colour-coded map of every folder on your drive.
Fix 3 — Check and Reduce RAM Usage

Difficulty: Easy | Time: 3 minutes | Impact: High
If your PC is using more than 80% of its RAM at idle, Windows is constantly swapping data to the much slower page file on your disk — and that is what makes everything feel sluggish. Before buying more RAM, check whether the problem is simply too many apps running at once.
How to check RAM usage in Windows 11
- Press Ctrl + Shift + Esc to open Task Manager.
- Click the Performance tab, then click Memory on the left.
- Note the In use figure and Available figure at the bottom.
- Switch to the Processes tab and click the Memory column header to sort by RAM usage (highest first).
- Close any applications near the top that you are not actively using.
Adjust virtual memory if you have less than 8 GB RAM
- Press Windows + R, type
sysdm.cpland press Enter. - Go to Advanced > Performance > Settings > Advanced > Virtual memory > Change.
- Untick Automatically manage paging file size for all drives.
- Set the Initial size to 1.5× your total RAM in MB, and Maximum size to 3× your total RAM in MB.
- Click Set, then OK, and restart.
If your PC consistently uses more than 90% RAM with just a browser open, consider upgrading to 16 GB.
Fix 4 — Fix Browser Slowdown
Difficulty: Easy | Time: 5 minutes | Impact: Very high (if you use Chrome)
Your browser is often the single biggest RAM and CPU consumer on your PC. Chrome is particularly notorious — each tab, each extension, and each background process runs in its own sandbox. A browser with 20 tabs and 10 extensions can easily consume 4–6 GB of RAM on its own.
Step 1 — Audit and disable extensions
- In Chrome, go to chrome://extensions. In Edge, go to edge://extensions.
- Disable any extension you have not used in the past month.
- Remove extensions you no longer need entirely.
- Keep your ad blocker, password manager, and any essential tools — but nothing else.
Step 2 — Clear your browser cache
- Press Ctrl + Shift + Delete in your browser.
- Set the time range to All time.
- Tick Cached images and files and Cookies and other site data.
- Click Clear data.
Step 3 — Enable hardware acceleration
This offloads video and rendering tasks from your CPU to your GPU, which is almost always faster.
- Chrome: Settings > System > toggle on Use hardware acceleration when available
- Edge: Settings > System and performance > toggle on Use hardware acceleration when available
- Firefox: Settings > General > Performance > tick Use hardware acceleration when available
Tip: Microsoft Edge uses significantly less RAM than Chrome on Windows 11 and has a built-in Sleeping Tabs feature that freezes inactive tabs. If RAM is your main bottleneck, switching to Edge can free up 1–2 GB with no other changes.
Fix 5, 6 & 7 — Performance Settings (Do All Three)
These three settings live in different menus but together they remove a surprising amount of CPU and GPU overhead. They are especially effective on older machines or integrated graphics laptops. Combined, they take about five minutes.
Fix 5 — Switch to High Performance Power Plan
Difficulty: Easy | Time: 1 minute
Windows 11 defaults to Balanced power mode, which throttles your CPU to save power. On a desktop, or a laptop plugged into the wall, this is unnecessary and costs you speed.
- Go to Settings > System > Power & battery.
- Under Power mode, change the dropdown from Balanced to Best performance.
Note: On a laptop running on battery, switch back to Balanced to preserve battery life. Only use Best performance when plugged in.
Fix 6 — Disable Visual Effects for Best Performance
Difficulty: Easy | Time: 2 minutes
Windows 11 renders shadows, animations, and fade effects on every window, button, and menu. On a fast machine this is unnoticeable. On a slower PC it adds up to a constant drain on the GPU.
- Press Windows + R, type
sysdm.cpland press Enter. - Click the Advanced tab, then click Settings under Performance.
- Select Adjust for best performance — this turns off all visual effects at once.
- Click Apply, then OK.
Tip: If the result looks too plain, switch back to “Custom” and re-tick just “Smooth edges of screen fonts” and “Show thumbnails instead of icons” — those two have almost no performance cost.
Fix 7 — Turn Off Transparency and Animations
Difficulty: Easy | Time: 1 minute
Even if you kept some visual effects in Fix 6, the system-wide transparency effect (frosted glass on the taskbar and Start menu) and window open/close animations can be toggled off separately in Accessibility settings with no impact on usability.
- Go to Settings > Accessibility > Visual effects.
- Toggle off Transparency effects.
- Toggle off Animation effects.
Fix 8 — Update or Roll Back Drivers

Difficulty: Moderate | Time: 10 minutes | Impact: High (if slowdown started after an update)
A faulty, outdated, or incompatible driver — especially the GPU driver — is one of the most common causes of a Windows 11 PC becoming slow seemingly overnight. If your PC started struggling after a Windows Update or after you installed new hardware, this fix should be your first stop.
How to update drivers via Device Manager
- Right-click the Start button and select Device Manager.
- Expand Display adapters.
- Right-click your GPU (e.g. NVIDIA GeForce RTX 4060 or Intel Iris Xe) and select Update driver.
- Choose Search automatically for drivers and let Windows find the latest version.
How to roll back a driver that caused the problem
- Follow steps 1–2 above.
- Right-click your GPU and select Properties.
- Go to the Driver tab and click Roll Back Driver.
- Restart your PC.
Tip: For NVIDIA GPUs, always download the latest driver directly from nvidia.com/drivers rather than relying on Windows Update — the official driver is usually newer and more stable.
Fix 9 — Run a Full Malware Scan
Difficulty: Easy | Time: 20–60 minutes (mostly unattended) | Impact: Critical (if malware is present)
Malware and adware run silently in the background, using your CPU and network connection without your knowledge. If your PC is slow, fans are running loudly for no apparent reason, or there are unfamiliar processes in Task Manager, run a full scan before doing anything else.
How to run a full scan with Windows Defender
- Press Windows + S and search for Windows Security.
- Click Virus & threat protection.
- Under Current threats, click Scan options.
- Select Full scan and click Scan now.
- Let it run to completion — it may take 20–60 minutes depending on how much is on your drive.
Windows Defender is genuinely good and is sufficient for most users. If you want a second opinion, the free version of Malwarebytes (malwarebytes.com) is excellent for a one-off scan and will catch adware that Defender sometimes misses.
Fix 10 — Repair Windows System Files with SFC and DISM
Difficulty: Moderate | Time: 15–30 minutes | Impact: High (for corrupted installs)
Corrupted or missing Windows system files are a surprisingly common cause of sluggish performance, random freezes, and unexplained errors. Windows 11 includes two built-in repair tools — sfc (System File Checker) and DISM (Deployment Image Servicing) — that scan and repair damaged files automatically. Always run them in this order.
Step 1 — Run SFC (System File Checker)
- Press Windows + S, search for Command Prompt.
- Right-click it and select Run as administrator.
- Type the following command and press Enter:
sfc /scannow - Wait for the scan to reach 100%. Do not close the window.
- If it reports “Windows Resource Protection found corrupt files and repaired them,” restart your PC.
Step 2 — Run DISM to repair the Windows image
If SFC found problems but could not fix them all, DISM will repair the underlying Windows image that SFC relies on. Run this in the same Administrator Command Prompt:
DISM /Online /Cleanup-Image /RestoreHealthThis requires an internet connection as it downloads replacement files from Microsoft. It can take 15–20 minutes. Once complete, run sfc /scannow again to verify everything is repaired, then restart.
Frequently Asked Questions
Why is my Windows 11 PC suddenly so slow?
Sudden slowdowns on Windows 11 are usually caused by a Windows Update installing in the background, a new app silently adding itself to startup, a disk that has filled up, or malware. Open Task Manager and sort by CPU and Memory to find the culprit quickly. If CPU usage is above 80% at idle, one of the fixes above will resolve it.
Does Windows 11 slow down older PCs?
Yes. Windows 11 requires at least 4 GB RAM and a 64 GB drive to install, but it performs best with 8–16 GB RAM and an SSD. PCs that only just meet the minimum specification will feel noticeably slower, especially after feature updates which add new background services. If your PC has a mechanical hard drive (HDD) rather than an SSD, upgrading the drive is the single biggest performance improvement you can make.
How do I check what is slowing down my Windows 11 PC?
Press Ctrl + Shift + Esc to open Task Manager. Click the CPU or Memory column header to sort all running processes from highest to lowest usage. Whatever is at the top is your main performance bottleneck. You can then close the application, update it, or investigate further.
Will a fresh Windows 11 install speed things up?
Yes — a clean reinstall removes all accumulated bloatware, corrupted files, and redundant startup entries in one step. It is the most effective fix for a PC that has been slow for a long time and has not responded to the fixes above. It does require backing up your files first.
Is 8 GB RAM enough for Windows 11 in 2025?
8 GB is the practical minimum for Windows 11. It is workable for light tasks — email, documents, and a browser with a handful of tabs — but if you multitask, edit photos or videos, or regularly have more than 10 browser tabs open, you will notice slowdowns. 16 GB is the recommended amount for smooth everyday use in 2025.
Summary — The Quickest Wins
If you only have five minutes, start with these three fixes — they resolve the majority of slow Windows 11 PCs:
- Disable high-impact startup apps in Task Manager — fastest boot, lower idle RAM.
- Run Disk Cleanup and enable Storage Sense — keeps your C: drive breathing.
- Clear your browser cache and disable unused extensions — often the biggest daily performance gain.
If your PC is still struggling after all 10 fixes, the bottleneck is likely hardware. An SSD upgrade is the most cost-effective improvement you can make on an older machine, followed by a RAM upgrade if you are consistently above 80% memory usage.
Have a question or found a fix that worked for you? Leave a comment below — it helps other TechDIY readers find the right solution faster.