DIY
DIY
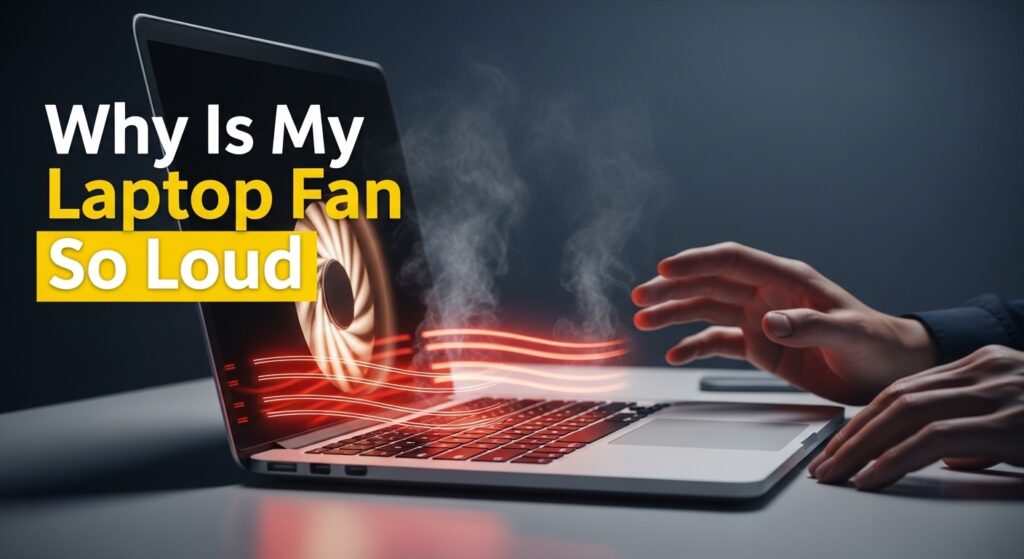
You’re in the middle of a video call, browsing the web, or just writing an email — and suddenly your laptop sounds like it’s about to take off. A loud, constantly spinning fan is one of the most common laptop complaints, and the good news is that in most cases you can fix it yourself in just a few minutes.
Laptop fans get loud for two main reasons: heat and software. Either your laptop is working too hard and generating too much heat, or something is preventing the heat from escaping efficiently. This guide covers both, walking you through 7 fixes from the quickest (takes 30 seconds) to the most thorough (for older laptops that need some maintenance love).

Start at Fix 1 and work your way down — most people solve the problem before they even reach Fix 4.
Why Does a Laptop Fan Get So Loud?
Your laptop fan’s job is to pull hot air away from internal components — mainly the CPU and GPU — and push it out through the vents. The hotter those components run, the faster and louder the fan spins. Common culprits include:
- Background processes — apps or browser tabs consuming CPU without you realising
- Poor airflow — using your laptop on soft surfaces that block the vents
- Dust buildup — blocking airflow inside the chassis over time
- Malware — hidden processes silently maxing out your CPU
- Dried thermal paste — on older laptops, the heat-transfer compound degrades
Now let’s fix it.
Fix 1: Close Background Apps and Browser Tabs
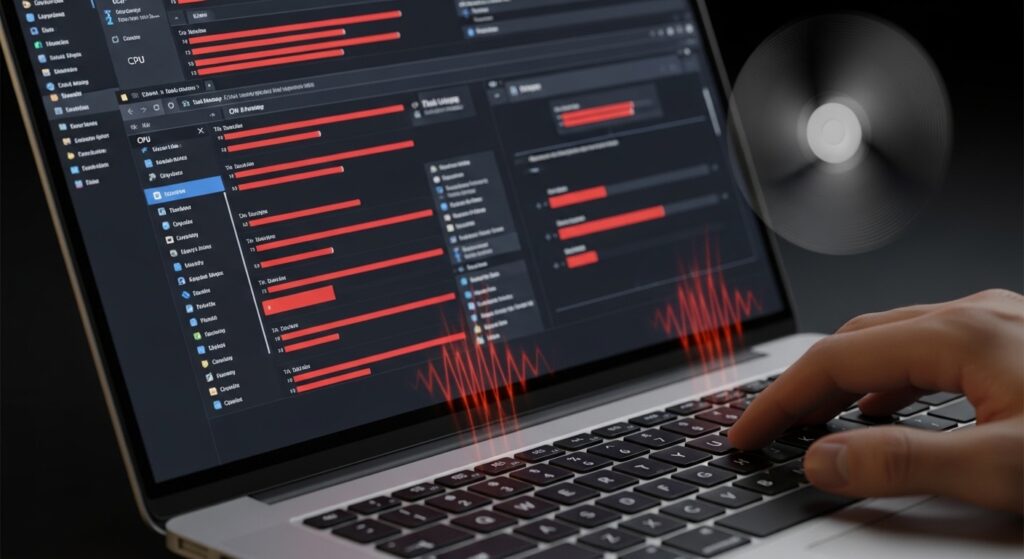
This is the first thing to check, and it solves the problem more often than you’d expect. A single rogue browser tab, a video encoding process, or a hidden updater running in the background can push your CPU to 80–100% — causing the fan to spin at full speed even when your screen looks idle.
On Windows:
- Press Ctrl + Shift + Esc to open Task Manager.
- Click the CPU column to sort by usage (highest first).
- If you see any unfamiliar process using 20%+ CPU, right-click it and select End Task.
- Close any browser tabs or apps you don’t actively need.
On Mac:
- Open Activity Monitor (search for it in Spotlight with Cmd + Space).
- Click the CPU tab and sort by % CPU (highest first).
- Quit any process consuming unusually high CPU by selecting it and clicking the X button at the top.
Note: Google Chrome and Microsoft Edge are notorious for high CPU usage, especially with many tabs open. Try closing all but essential tabs, or switch to a lighter browser temporarily to test.
Fix 2: Check for and Install System Updates
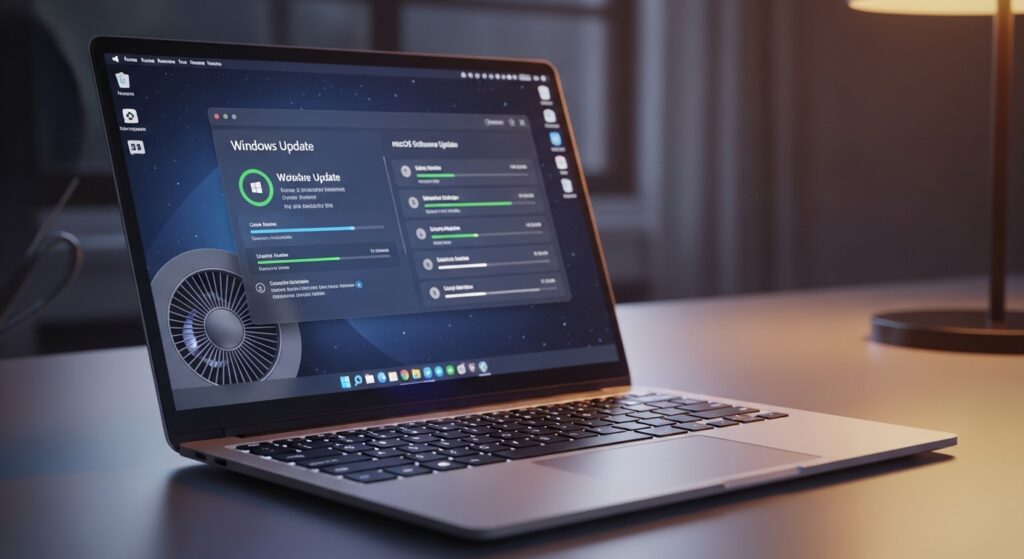
Outdated operating systems and drivers can cause runaway CPU usage due to software bugs. A simple update often patches these issues and brings fan noise back to normal.
On Windows:
- Go to Settings > Windows Update and click Check for updates.
- Also check for driver updates: open Device Manager, right-click your display adapter, and select Update driver.
On Mac:
- Go to System Settings > General > Software Update.
- Install any available macOS updates.
After updating, restart your laptop and check whether the fan has calmed down.
Fix 3: Adjust Your Power or Performance Settings
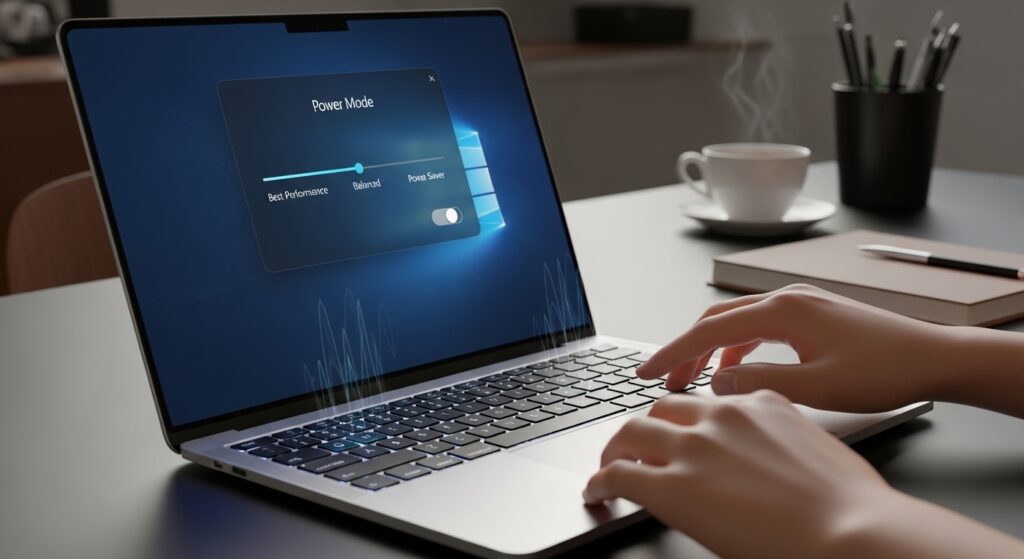
Your laptop may be running in a high-performance mode that pushes the CPU harder than necessary — especially if you’re just browsing or working on documents. Switching to a balanced or power-saving mode reduces heat generation and, in turn, fan speed.
On Windows:
- Click the battery icon in the taskbar.
- Drag the slider from Best Performance to Balanced or Best Power Efficiency.
- Alternatively, go to Settings > System > Power & Sleep > Power mode.
On Mac:
- Go to System Settings > Battery.
- Enable Low Power Mode to reduce background activity and heat.
Gaming laptop users: Many gaming laptops have a dedicated performance mode switch (often a physical key or manufacturer software like Armoury Crate or Vantage). Switching from “Performance” to “Balanced” or “Silent” mode can dramatically reduce fan noise during everyday tasks.
💡 Tip: Balanced mode rarely causes any noticeable slowdown during everyday tasks like browsing, writing, or watching video. You’ll only feel a difference in demanding tasks like video editing or gaming.
Fix 4: Improve Airflow Around Your Laptop
Laptops need clear space around their vents to breathe. Using your laptop on a bed, sofa, or cushion is one of the most common — and most overlooked — causes of overheating. These soft surfaces compress against the vents and block airflow entirely.
Here’s how to improve it:
- Use a hard, flat surface — a desk or table is ideal.
- Get a laptop stand — raising the laptop even 2–3 cm improves airflow underneath and can drop temperatures by 5–10°C.
- Use a cooling pad — these sit under your laptop and add extra fans to push cool air upward. A solid option for gaming laptops or users who run demanding software regularly.
- Check your vents — most laptops exhaust hot air from the back or sides. Make sure nothing is blocking those areas.
Fix 5: Scan for Malware
Crypto-mining malware and other malicious software can silently use 100% of your CPU or GPU — causing your fan to roar even when your laptop appears to be doing nothing. This is especially common if you’ve recently downloaded software from unofficial sources or visited suspicious websites.
On Windows:
- Open Windows Security (search for it in the Start menu).
- Go to Virus & Threat Protection > Quick Scan.
- For a deeper check, run a Full Scan or download Malwarebytes Free for a second opinion.
On Mac:
- macOS has built-in malware protection (XProtect), but for extra peace of mind, use Malwarebytes for Mac (free version available).
After scanning, remove any threats found and restart. If the fan noise persists, move on to Fix 6.
Fix 6: Clean the Vents and Fan
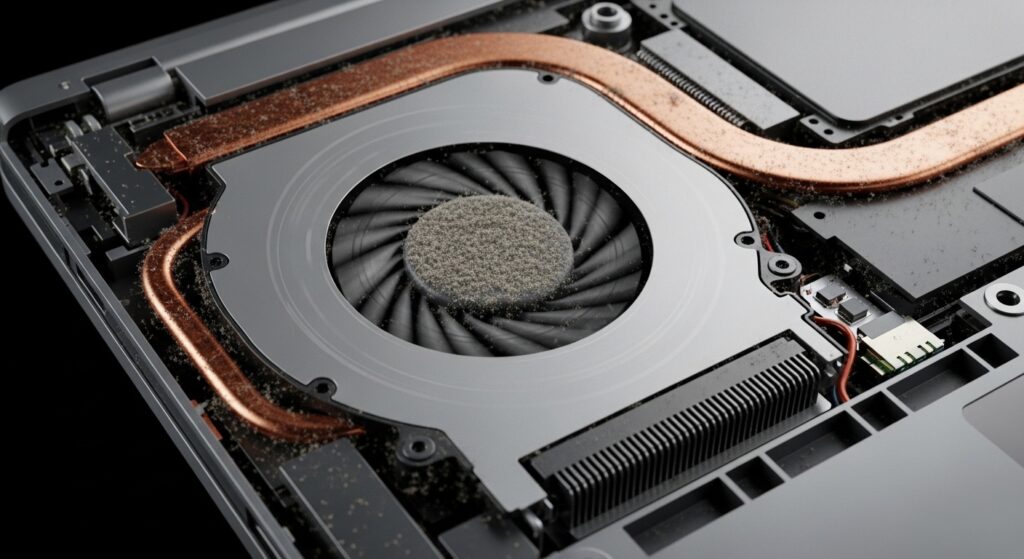
Dust is the number one long-term cause of loud laptop fans. Over time, dust accumulates inside the chassis and clogs the fan blades and heat sink fins — blocking airflow and forcing the fan to work much harder. If your laptop is more than 2 years old and has never been cleaned, this is very likely contributing to the noise.
How to clean it (external method — safe for everyone):
- Shut down and unplug your laptop.
- Get a can of compressed air (available at any electronics or office store).
- Hold the can upright and use short bursts to blow air into the vents. Don’t hold the trigger continuously — the can will cool and moisture can form.
- Do this outdoors or over a bin — a surprising amount of dust can come out.
- Use a dry toothpick or thin brush to gently dislodge visible dust clumps at the vent openings.
⚠️ Warning: Don’t open your laptop unless you’re confident doing so — you risk voiding your warranty or damaging internal components. If the laptop is still under warranty, take it to an authorised service centre for internal cleaning instead.
How often should you clean? Every 12–18 months for regular users, or every 6–12 months if you use your laptop on carpeted floors or in a dusty environment.
Fix 7: Replace the Thermal Paste
This fix is for older laptops — typically 3 years or more — where nothing else has worked. Thermal paste is the compound that sits between your CPU/GPU and the heat sink, transferring heat efficiently between them. Over time, it dries out and becomes less effective, meaning heat builds up faster and your fan has to compensate.
Signs this might be your issue:
- Fan is extremely loud even during light tasks
- CPU temperatures are consistently above 85–90°C (check with a free tool like HWiNFO on Windows or TG Pro on Mac)
- Laptop was fine a year ago and has gradually gotten louder
Replacing thermal paste involves opening the laptop, removing the cooling system, cleaning off the old paste, and applying a fresh layer (products like Arctic MX-4 or Thermal Grizzly Kryonaut are popular choices). If you’re not comfortable doing this yourself, any reputable laptop repair shop can do it for a modest fee — and the results are often dramatic.
⚠️ Warning: Thermal paste replacement requires opening your laptop and removing the heatsink. If your device is still under warranty, take it to an authorised service centre to avoid voiding it.
When to Seek Professional Help
If you’ve worked through all 7 fixes and your fan is still loud — or if you notice grinding, clicking, or rattling sounds — the fan itself may be physically failing. A damaged bearing or bent fan blade won’t be fixed by software changes or cleaning. In this case, take your laptop to a repair shop for a fan replacement before the component fails completely. Caught early, it’s usually an inexpensive fix.
Final Thoughts
In most cases, a loud laptop fan comes down to one of three things: too much CPU load, not enough airflow, or accumulated dust. Fixes 1–4 take less than 5 minutes each and solve the problem for the vast majority of users. If you’re on an older laptop, Fix 6 (cleaning) and Fix 7 (thermal paste) are worth doing as part of general maintenance even if the fan isn’t loud yet.
Here’s a quick recap of the 7 fixes:
- Close background apps and browser tabs
- Install system and driver updates
- Switch to Balanced power mode
- Improve airflow — use a hard surface or laptop stand
- Scan for malware
- Clean the vents with compressed air
- Replace the thermal paste (older laptops)
Start at the top and work your way down — you’ll likely have a quieter laptop before you reach the end of the list. If this guide helped, consider sharing it with someone dealing with the same problem.