
Stop — read this first
Every time you use your computer after deleting a file, you risk overwriting the data permanently. Minimise all other activity on the affected drive until you’ve attempted recovery. Don’t install software, don’t save new files, don’t restart unless absolutely necessary.
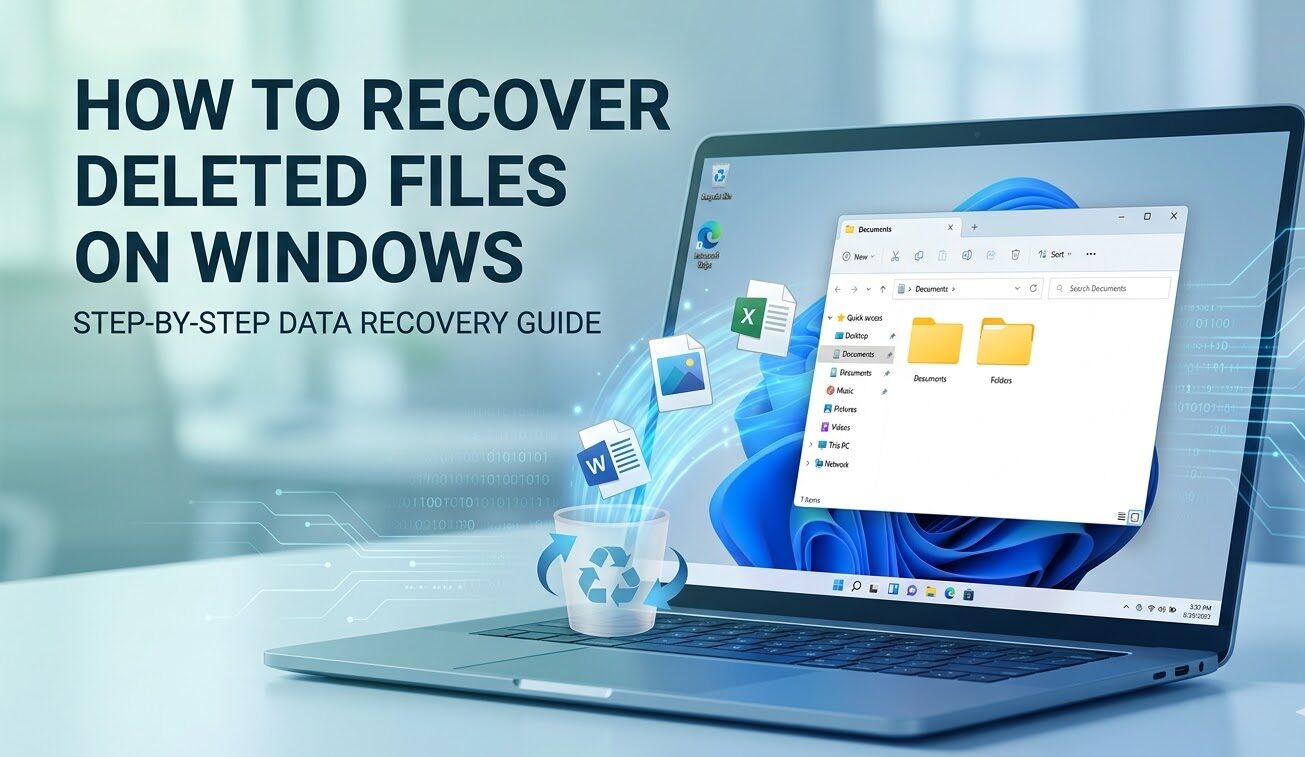
Accidentally deleting an important file is one of the most stressful things that can happen at a computer — but in most cases, recovery is possible. Windows stores deleted file data on the disk even after it’s gone from view, and there are multiple ways to get it back depending on how it was deleted and how quickly you act.
This guide covers 7 proven methods, starting with the simplest built-in options and working through to third-party software and professional services. Work through them in order — the earlier methods require no downloads and often solve the problem completely.
Jump to a method:
- Check the Recycle Bin
- Restore previous versions (Shadow Copy)
- Windows File History
- Windows Backup and OneDrive
- Command Prompt (attrib trick)
- Free third-party recovery software
- Professional data recovery service
Also covers: HDD vs SSD recovery differences · how to prevent future file loss · FAQ
How deleted files work on Windows
Before diving into recovery methods, it helps to understand what actually happens when a file is deleted — because it explains why recovery is possible and why timing matters so much.
When you delete a file and it goes to the Recycle Bin, nothing changes on the disk itself. The file stays exactly where it was — Windows simply marks it as “deleted” and hides it from view. Restoring it is instant.
When you permanently delete a file (Shift+Delete, or by emptying the Recycle Bin), Windows removes the file’s entry from its directory table and marks that disk space as available. But the actual data stays on the disk — it just sits there, invisible, until Windows writes something new over the top of it. This is the window in which recovery software can find and restore the file.
The key rule: the less you use the computer after deletion, the better your chances. Every new file saved, every program installed, every automatic Windows process is a potential overwrite.
Method 1 — Check the Recycle Bin
Best for: Files deleted normally (not with Shift+Delete)
Requires: Nothing — built into Windows
Success rate: 100% if the file is there
Before anything else, check the Recycle Bin. It sounds obvious, but many files people assume are “gone” are still sitting there waiting to be restored.
How to restore a file from the Recycle Bin
- Double-click the Recycle Bin icon on your desktop
- Search for your file by name using the search box in the top-right corner, or sort by Date Deleted to find recently deleted items
- Right-click the file and select Restore — this sends it back to its original location
- If the original folder no longer exists, drag the file out of the Recycle Bin to any location you choose
Why might a file not appear in the Recycle Bin? It was deleted using Shift+Delete (bypasses the bin entirely), the file was larger than the Recycle Bin’s size limit, the Recycle Bin was already emptied, or it was deleted from a USB drive or network location (these don’t go to the Recycle Bin). If any of these apply, continue to Method 2.
Method 2 — Restore previous versions (Shadow Copy)
Best for: Files permanently deleted from a folder, or overwritten files you want to roll back
Requires: System Protection must have been enabled before the deletion
Works on: Windows 10 and Windows 11
Windows quietly creates snapshots of your files called Shadow Copies as part of its System Restore feature. If System Protection was enabled on your drive, you can browse these snapshots and pull individual files back — no third-party software required.
How to use Previous Versions
- Open File Explorer and navigate to the folder where the deleted file was stored
- Right-click the folder and select Properties
- Click the Previous Versions tab
- You’ll see a list of snapshots with dates — select the most recent one before the deletion occurred
- Click Open to browse the snapshot like a normal folder
- Find your file, then either drag it to a safe location or right-click and copy it
Previous Versions tab is empty? System Protection wasn’t enabled for that drive, or no restore points had been created yet. To enable it going forward: search for Create a restore point in the Start menu → select your main drive → click Configure → turn on System Protection.
SSD users: Shadow Copy may be less reliable on SSDs with TRIM enabled. See the HDD vs SSD section below for a full explanation.
Method 3 — Windows File History
Best for: Recovering older versions of documents, photos, or any files in your user folders
Requires: File History must have been set up and running before the deletion
Works on: Windows 10 and Windows 11
File History is Windows’ dedicated backup feature for personal files. If it was set up and connected to an external drive or network location, it keeps a rolling history of your files that you can browse and restore from like a time machine.
How to restore files using File History — Windows 10
- Open the Control Panel (search for it in the Start menu)
- Go to System and Security → File History
- Click Restore personal files in the left sidebar
- Use the left and right arrows at the bottom to navigate through backup dates
- Find your file, select it, and click the green Restore button
How to restore files using File History — Windows 11
- Open Settings → System → Storage
- Scroll to Advanced storage settings → Backup options
- Under Back up using File History, click More options
- Scroll to the bottom and click Restore files from a current backup
- Navigate the timeline to find your file and restore it
File History not set up? Unfortunately this method only works if it was configured before the deletion. Jump to Method 6 (Recuva) for the best option in that case. And consider setting up File History immediately after you recover your files — it takes about 5 minutes.
Method 4 — Windows Backup and OneDrive
Best for: Files stored in Documents, Desktop, or Pictures folders synced to OneDrive
Requires: An existing Windows Backup, or OneDrive sync enabled
Recover from Windows Backup
- Open the Control Panel → System and Security → Backup and Restore (Windows 7)
- Despite the name, this tool works in Windows 10 and 11
- Click Restore my files and follow the wizard to browse your backup and recover individual files or folders
Recover from OneDrive (often overlooked)
If your deleted file was in a folder synced to OneDrive — such as Documents, Desktop, or Pictures — there’s a good chance it’s still recoverable from the cloud, even if it’s gone from your PC.
- Go to onedrive.live.com and sign in
- Click the Recycle Bin in the left sidebar
- OneDrive keeps deleted files for 30 days (93 days for Microsoft 365 subscribers)
- Find your file, right-click, and select Restore
For older versions of a file that still exists but has been changed:
- Right-click the file in OneDrive online
- Select Version history
- Browse earlier saved versions and restore the one you need
Tip: Even if you didn’t consciously set up OneDrive, Windows 10 and 11 often enable it automatically during setup. Check whether your Documents and Desktop folders have the OneDrive cloud icon — if they do, your files may be in OneDrive’s recycle bin right now.
Method 5 — Command Prompt (attrib trick)
Best for: Files that appear missing but are actually hidden — common after virus infections or accidental attribute changes
Requires: Administrator access
Especially useful for: USB drives and SD cards that appear empty
Sometimes files aren’t deleted at all — they’ve been set as hidden or system files, making them invisible in File Explorer. This is a frequent side effect of certain malware strains and can also happen accidentally. The attrib command in Command Prompt reveals and un-hides them instantly.
How to use the attrib command
- Press Windows + S, type cmd, right-click Command Prompt, and select Run as administrator
- Type the drive letter of the affected drive followed by a colon and press Enter. For example, for drive D: type
D:then press Enter. For a USB drive, use its assigned letter (check in File Explorer) - Type the following command exactly and press Enter:
attrib -h -r -s /s /d *.*This command removes the hidden (-h), read-only (-r), and system (-s) attributes from all files and folders on the drive, including subfolders (/s) and directories (/d). After running it, check File Explorer — previously invisible files should now appear.
Important limitation: This method only reveals hidden files — it cannot recover files that have been genuinely deleted. If your files remain missing after running this command, they were truly deleted and you’ll need Method 6 (recovery software) to get them back.
Method 6 — Free third-party recovery software
Best for: Permanently deleted files, emptied Recycle Bin, no backup available
Requires: Downloading and installing a recovery tool (install it on a different drive than the one you’re recovering from)
Success rate: High on HDDs caught quickly; lower on SSDs due to TRIM
Recovery software works by scanning your drive for file data that Windows has marked as available but hasn’t yet overwritten. Think of it like finding a page torn out of a book — the content is still there, it’s just been marked as blank paper.
Best free recovery tools
Recuva — Recommended for most users
Made by Piriform (the makers of CCleaner), Recuva is the most beginner-friendly free recovery tool available. It has a guided wizard, shows the recovery likelihood for each file with a traffic light system, and lets you preview files before restoring. Free with no recovery limit. Download from: piriform.com/recuva
TestDisk / PhotoRec — Best for advanced users
Open-source, powerful, and completely free with no limits. PhotoRec (despite the name) recovers all file types, not just photos. The interface is text-based and less intuitive, but it’s one of the most thorough scanners available. Download from: cgsecurity.org
Disk Drill — Best UI, limited free tier
Modern, polished interface with an excellent preview feature. The free version recovers up to 500 MB of data — enough to rescue a few documents or a batch of photos. A paid upgrade removes the limit. Download from: cleverfiles.com
Step-by-step: recovering files with Recuva
Critical: Do not install Recuva on the same drive you’re trying to recover from. Install it on a different drive (another internal drive, or a USB stick) to avoid overwriting the very data you’re trying to rescue. If you only have one drive, use a USB stick for the installation.
- Download and install Recuva from piriform.com/recuva — choose a drive other than the one you’re recovering from
- Launch Recuva — the wizard will open automatically
- Select file type: choose the type of file you’re looking for (pictures, documents, music, etc.), or select All Files if you’re unsure
- Select location: choose the drive or folder where the file was deleted from. If unsure, select I’m not sure to scan everywhere
- Enable Deep Scan if you don’t find the file on the first pass — this takes longer but finds more
- Click Start and wait for the scan to complete
- Review results: files are shown with a coloured dot indicating recovery likelihood — green (excellent), orange (poor), red (unrecoverable)
- Preview files before recovering — for documents and images, Recuva shows a preview so you can confirm it’s the right file
- Select the files you want to recover, click Recover, and choose a destination on a different drive
File showing as red (unrecoverable)? The data has been partially or fully overwritten. This is more likely if significant time has passed since deletion or the drive has been heavily used. Try a Deep Scan if you haven’t already — it sometimes finds data that the quick scan missed. If it’s still red, proceed to Method 7.
Method 7 — Professional data recovery service
Best for: Physically damaged drives, SSDs where software recovery has failed, or files of very high value
Cost: £300–£1,500+ depending on damage and data volume
When to use it: Only after all other methods have been exhausted, or if the drive is making clicking or grinding noises
If your drive has suffered physical damage — clicking sounds, failure to spin up, water damage, or fire damage — no software in the world will recover your data. Professional recovery services disassemble the drive in a dust-free cleanroom environment and read the platters directly, bypassing the damaged components.
What to look for in a reputable provider
- No data, no fee policy: you only pay if they successfully recover your data
- ISO-certified cleanroom: essential for hard drive disassembly
- Free evaluation: a reputable company will assess the drive and give you a quote before starting work
- Transparent pricing: avoid companies that won’t give an estimate upfront
Is it worth the cost? Only you can answer that based on what the files are worth to you. For irreplaceable family photos, business records, or years of work, professional recovery is often worth every penny. For files you could recreate, it probably isn’t. Get a free quote from two or three providers before committing.
HDD vs SSD: why file recovery is different
The type of drive in your computer has a major impact on your chances of recovery — and many people are frustrated when Recuva finds nothing, not realising their computer has an SSD.
| HDD (traditional hard drive) | SSD (solid state drive) | |
|---|---|---|
| How deletion works | Data stays on disk until overwritten | TRIM erases data almost immediately after deletion |
| Recovery window | Hours to days (or longer on lightly used drives) | Minutes — act before rebooting if possible |
| Software recovery success rate | High | Low to none once TRIM has run |
| Best recovery approach | Recuva or any recovery software | Backups only — Shadow Copy, File History, OneDrive |
How to check if your drive is an SSD or HDD
- Press Ctrl + Shift + Esc to open Task Manager
- Click the Performance tab
- Select your drive from the left panel
- Look for the Type field on the right — it will say SSD or HDD
If you have an SSD and software recovery has come up empty, your best remaining options are Methods 2, 3, and 4 (backup-based approaches) and, if the files were truly critical, Method 7 (professional service).
How to prevent file loss in the future
If you’ve just spent an anxious hour trying to recover deleted files, you’re in the perfect mindset to set up proper backups — right now, before you forget. It takes less than 10 minutes and will save you this situation forever.
1. Enable Windows File History (5 minutes)
- Connect an external USB drive to your PC
- Search for File History in the Start menu and open it
- Click Select drive and choose your external drive
- Click Turn on
Windows will now automatically back up your files every hour. You can change the frequency and how long backups are kept in the Advanced Settings.
2. Turn on System Protection (2 minutes)
- Search for Create a restore point in the Start menu
- Select your main drive (usually C:) and click Configure
- Select Turn on system protection
- Set the disk space usage to at least 5–10%
3. Enable OneDrive backup for key folders
- Click the OneDrive cloud icon in the system tray
- Go to Settings → Sync and backup → Manage backup
- Toggle on Desktop, Documents, and Pictures
These folders will now sync to the cloud continuously. Even if your computer is lost, stolen, or fails completely, your files are safe online.
4. Follow the 3-2-1 backup rule
This is the gold standard of personal data protection — simple to remember, hard to go wrong:
- 3 copies of your data
- 2 on different storage types (e.g. internal drive + external drive)
- 1 stored offsite or in the cloud (e.g. OneDrive, Google Drive, Backblaze)
5. Increase Recycle Bin size
By default, the Recycle Bin has a size limit. Files larger than the limit are permanently deleted immediately rather than going to the bin. Increase it to give yourself more of a safety net:
- Right-click the Recycle Bin on the desktop and select Properties
- Increase the Maximum size value — 10,000–20,000 MB (10–20 GB) is reasonable for most users
Frequently asked questions
Can I recover permanently deleted files on Windows?
Yes, in many cases — especially if you act quickly. When a file is permanently deleted, Windows marks the space as available but doesn’t immediately erase the data. Recovery software can find and restore it as long as it hasn’t been overwritten by new data. Success is much more likely on HDDs than SSDs.
How long do I have to recover a deleted file?
On an HDD: anywhere from hours to weeks, depending on how much the drive is used after deletion. On an SSD: the window can be as short as minutes due to TRIM. The golden rule is to stop using the computer immediately and attempt recovery as soon as possible.
Is Recuva safe to use?
Yes. Recuva is made by Piriform, a well-established and reputable software company. It is read-only during scanning — it doesn’t modify your drive in any way while searching for files. The only writes happen when you choose to recover files to a specified location.
Why can’t Recuva find my deleted file?
The most common reasons are: TRIM has cleared the data (SSD drives), the file has been overwritten by new data, or the file’s NTFS directory entry has been reused. Try running a Deep Scan if you haven’t already. If the file is still not found on an SSD, recovery software is unlikely to help — your best options are backup-based methods (File History, OneDrive, Shadow Copy).
Does emptying the Recycle Bin permanently destroy files?
Not immediately on an HDD. Emptying the Recycle Bin removes the file from Windows’ directory and marks the space as available, but the underlying data remains on the disk until it’s overwritten. Recovery software can still find it. On SSDs with TRIM enabled, the data may be erased very shortly after emptying the bin.
Can I recover files deleted a year ago?
It’s unlikely unless the drive has been used very lightly since the deletion. On a typical PC that’s used daily, a year-old deleted file will almost certainly have been overwritten many times over. However, if the drive has been sitting unused (e.g. an old backup drive), the chances improve significantly. A deep scan with Recuva or PhotoRec is worth trying.
Can I recover files from a formatted drive?
Sometimes — a quick format only removes the file system table, not the actual data. Recovery software like Recuva or TestDisk can often recover files after a quick format. A full format overwrites the entire drive and makes recovery extremely difficult or impossible.
Summary — which method should you try first?
| Your situation | Start here |
|---|---|
| File deleted normally (not Shift+Delete) | Method 1 — Recycle Bin |
| File permanently deleted, no backup | Method 6 — Recuva |
| File was in Documents/Desktop/Pictures | Method 4 — Check OneDrive first |
| File disappeared from a USB drive | Method 5 — attrib command, then Method 6 |
| Drive making clicking or grinding sounds | Method 7 — Professional service (stop using it immediately) |
| You have an SSD and software found nothing | Method 2 → Method 3 → Method 4 |
Whatever happens — once you’ve recovered your files, set up a backup system today. Windows File History takes five minutes to enable and will mean you never face this situation again.
Have a question about your specific situation, or found a method here that worked for you? Leave a comment below — we read and respond to every one.